Own Your AI Studio Part 2: The Upgrade
As someone who has embraced the world of AI and is a bit of a tech nerd, I often want to see what AI tools I can run in my home lab.
Why run AI at home?
Why fear Skynet, when you can run it... Okay, all kidding aside, there are some benefits to running AI on your own hardware.
The first reason I personally run local AI is for data security and privacy. The more control I have over what goes out to the internet, the less I know that can be leaked, sold, or used to train other models. The next is that I love experimenting and tinkering with new tools. I also don't like paying for subscriptions if I don't have to, especially for image and video generation. Usually, you don't get what you want on the first try, and buying tokens over and over to try to get it feels like a waste.
That's why I write articles like these: if what I learn can help others, it's worth sharing.
If you'd like to check out Part 1, you can read it here: How to Own Your AI Image Studio: No Subscriptions, No Data Collection, No Compromise.
Today, I'm going over the replacement of that original machine and comparing the performance improvements between the two.
I don't like to decommission an old machine if I don't have to. That's the conservationist in me. I'm not a fan of good computer hardware ending up in e-waste if it doesn't have to. I use these tools for these articles, freelance video work, and the fun of it. An upgrade was needed to improve my workflow efficiency.
You still don't need a supercomputer either.
The hardware I used for the build is a mix of items I already own, acquired free, or purchased used. I like to do things on a budget, adding to the fun of the experience.
My first priority was to figure out the GPU. I knew I wanted at least 24GB of VRAM, and, given the nature of the work, I needed an NVIDIA GPU. During my research, I found that workstation GPUs offered more VRAM than regular gaming GPUs. They have the added benefit of being a smaller form factor, which provides more opportunities for cases that they can fit in. The drawback is that they tend to be more expensive than a gaming GPU.
I decided on the RTX 4500 ADA 24GB. It was close to the price of an RTX 4090 at the time, but it still had just as much VRAM, and I wanted that smaller form factor. I also didn't need to worry about the power connector melting since it didn't draw as much as the 4090.
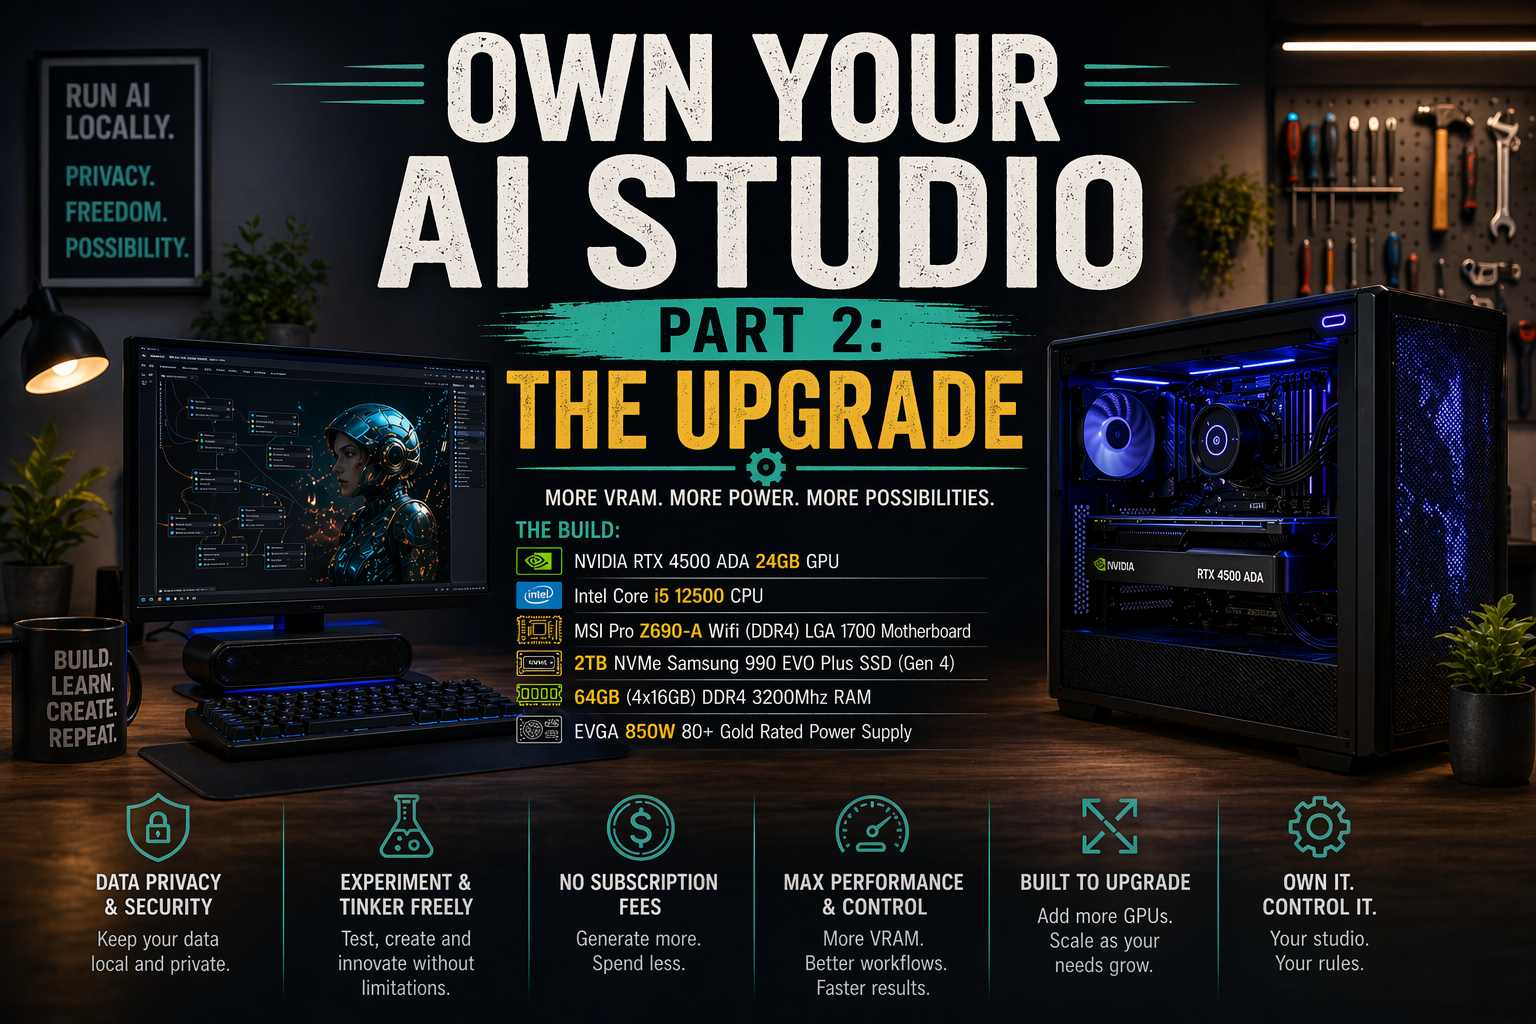
The Build:
NVIDIA RTX 4500 ADA 24GB GPU
Intel Core i5 12500 CPU
MSI Pro z690-A Wifi (DDR4) LGA 1700 Motherboard
2TB NVME Samsung 990 EVO Plus SSD (Gen 4)
64GB (4x16GB) DDR4 3200Mhz RAM
EVGA 850W 80+ Gold Rated Power Supply
The GPU:
As you may already know, the GPU is the most important part of an AI server. What I liked about the NVIDIA 4500 ADA was exactly what I stated above: 24GB of VRAM and a smaller profile compared to the gaming GPUs like the 4090. While it doesn't have the power of the 4090, it offers performance on par with the 4070 Ti, with more VRAM.
That's where 95% of my budget went to on this project.
If you decide to purchase one of these, it still uses the newer 12V High Power Connectors like the gaming GPUs. I purchased mine used and was lucky enough that the seller still had the adaptor, so I could use 2 PCIE 8-pin connectors with it.
The CPU:
The Intel Core i5-12500 CPU was something I came across in a stack of e-waste computers. I happened to be at the right place at the right time. A local company was going to get rid of some computers, and they let me dig through for anything I wanted for free. One of them had this CPU, which I was able to liberate from the stack of e-waste.
The i5-12500 also allowed me to choose between DDR4 and DDR5 for my system RAM. Since I only had access to DDR4, it provides an opportunity to upgrade later to DDR5.
The Motherboard:
Since I had the CPU, I knew the platform and motherboard socket I needed. That narrowed my focus to the motherboard features. I wanted one with multiple full 16x PCIe slots, so I could add more GPUs if I chose to run multiple ComfyUI instances. I stumbled on a used MSI Pro Z690-A Wi-Fi motherboard on eBay. The seller had good ratings, and the photos made it look brand new. As soon as it arrived, I tested it and was stoked that it worked!
The initial motherboard I purchased was a refurbished one on Amazon. It had thermal paste in the CPU socket and wouldn't boot. It was dead on arrival.
The Storage:
The 2TB NVME Samsung EVO Plus SSD was one I chose specifically for the build. I was hesitant to purchase because the price had jumped about 10% at that point due to the shortages. After realizing that prices could climb higher, I decided not to wait any longer.
I try to avoid purchasing anything new, but when it comes to SSDs, I make an exception for a build like this. This machine is going to be a workhorse, and having an SSD that isn't overused is important. I need reliability in this case.
The RAM:
Due to RAM shortages that have driven prices sky high, I decided that DDR4 RAM made the most economical sense. I also happened to have a stack of 8GB sticks lying around from my crypto mining days. This allowed me to save on the budget and avoid selling them if I didn't have to.
But... I got lucky.
In the same place where I had found the CPU, I found some 16GB DDR4 RAM sticks. That's the only reason I went with 64GB of system RAM instead of 32 GB. I saved them from that e-waste pile and got them for free.
The Power Supply:
The EVGA power supply was from my crypto mining days. Since I don't mine anymore, it made sense to use what I had lying around the mining cave. It's an 80+ Gold-rated PSU, and 850 watts is enough to power the entire system, including the GPU.
The build itself was pretty straightforward.
Like my original build, I decided to use Windows 11 Pro again. My current workflows were already set up to use Windows. I had also found that when using Windows, opening any workflow templates in ComfyUI, the option to download the models puts them directly where they need to be, but when using the ComfyUI web interface, it downloads them to that computer’s downloads folder, and you need to move them manually to the correct model on the AI server.
If I used a headless Linux server, this process would have been a little more work, and I wanted to avoid that.
This is the rare occasion where Windows turned out to be the better option for my workflow. I like to experiment with new models pretty regularly, so it's best to go with the path of least resistance.
What models can this machine run?
As of this writing, I haven't run into one I can't run. Having 24GB of VRAM and 64GB of system RAM seems to be enough to run any AI image- and video-generation model I've come across. On my old server with the NVIDIA 3060 12GB and 32GB of RAM, the latest FLUX Dev model would fail, but on the new system, it runs fine.
Is it faster?
Hell yeah, it's faster! Using the same model and workflow I used on my old server, the Z-Image-Turbo, it took between 30 and 50 seconds to create an image. On the new one, it takes about 5.5 seconds using the same prompt. I then decided to add more to the point to see if it made any difference in time to generate, but it still only took about 5.5 seconds.
That's a huge increase in speed.
Here's the image it created with the new prompt:

"A tiny dinosaur with a guitar rocking out on a stage in front of a crowd like a rock star. The crowd is also dinosaurs."
The upgrade is a huge success!
The goal was to have a machine that ran faster so I could call on it to generate images and/or video for b-roll, when needed. On my old server, if I needed a video or to add movement to an image, I'd queue it up to generate a couple with a prompt and walk away for 30 minutes or work on something else before checking on it again.
It took forever!
Today, the new machine has allowed me to create what I've needed in a fraction of the time. Using the WAN 2.2 model with the Image to Video workflow, it takes less than 2 minutes even when the model isn't already loaded into memory, and if it is, it can take less than 90 seconds.
Here's a video I created using the WAN 2.2 Image to Video workflow using the image from above.
Mission accomplished!
An upgrade like this may not be worth it for everyone. It depends on your wants, needs, and accessibility to the hardware. The freelance video work I do makes the cost and effort worthwhile for me.
Are you playing with any image or video generation tools? Or maybe you're upgrading your hardware. Tell me about it in the comments. I live for these kinds of discussions.